Image processing - Part 2
- Luka Kozina
- Jan 4, 2022
- 4 min read

Updated: Jan 13, 2022
Next few image processing tutorials are going to be about OpenCV in Python. OpenCV can be used as image and video processing tool as well as tool for more complicated applications. We will start with image processing, then we'll go to video and stream processing and finally we'll be ready for fun and useful applications like face and eye detection, face recognition and many more.
After installation, we are ready for start. First we have to import the libraries we are going to use.
import cv2
import numpy as np
from matplotlib import pyplot as plt
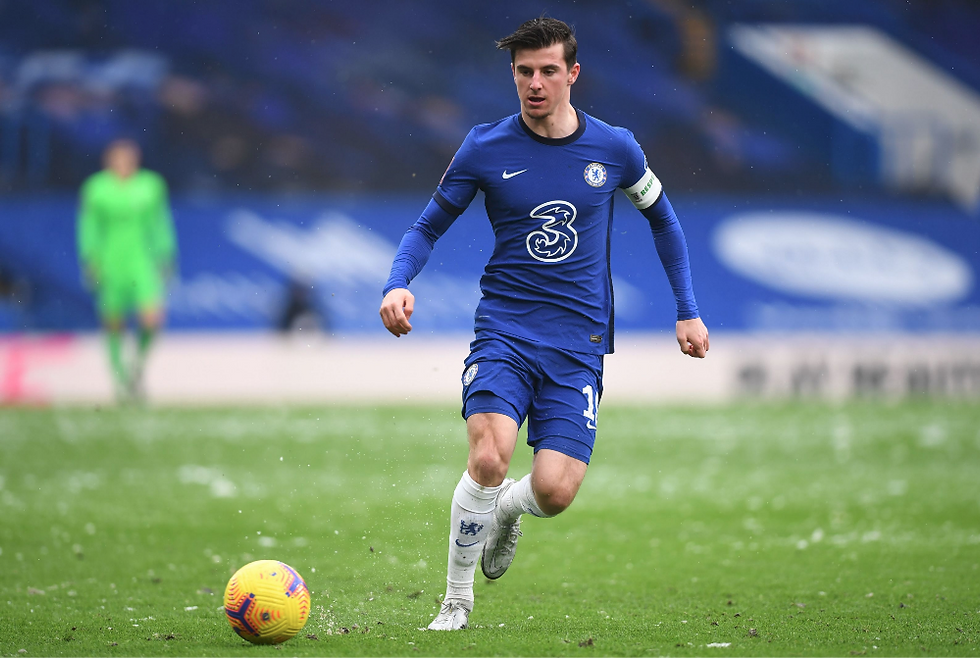
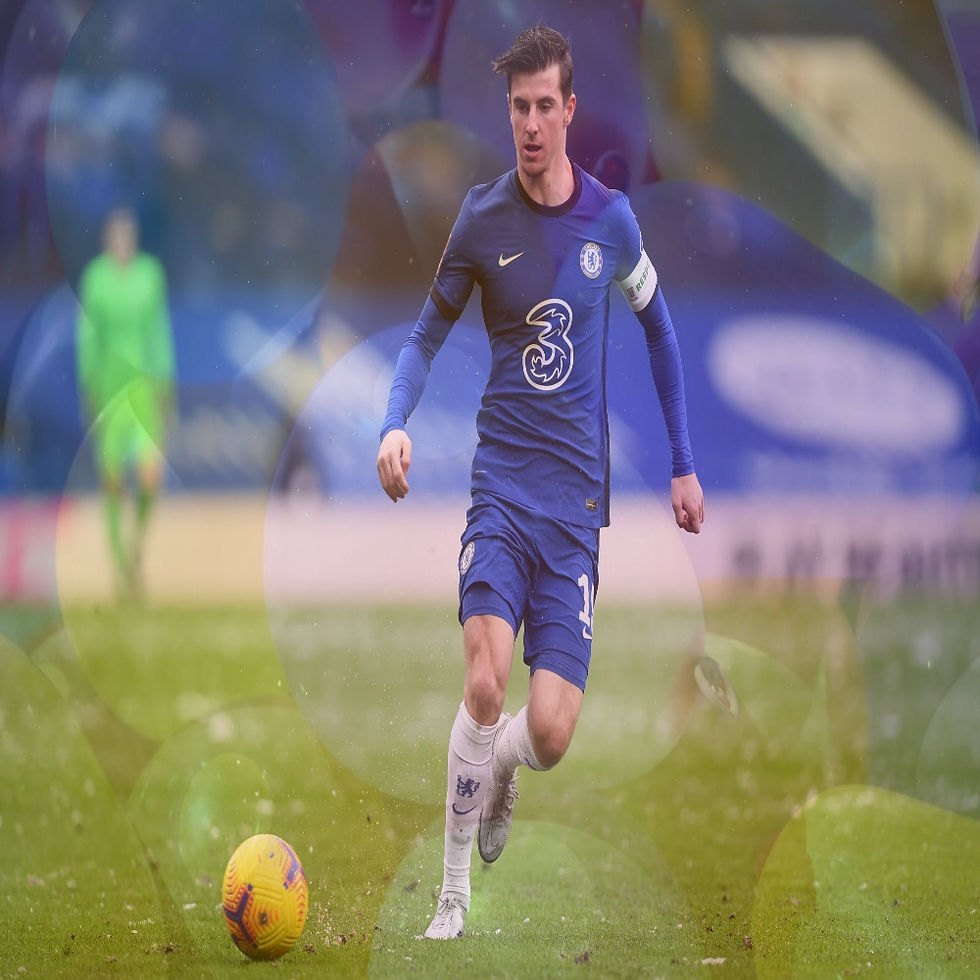
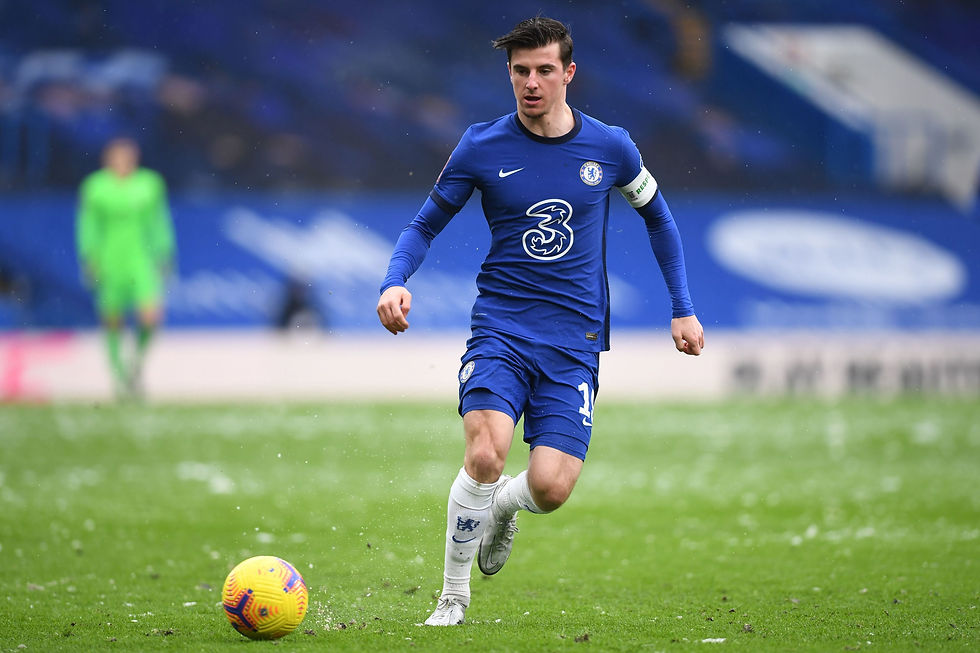
Next, we'll load the image. I'll use image of Mason Mount, footballer of Chelsea, but you can use any image you want. Just provide right path to it. After loading, we will resize it with cv2.resize() function. First parameter of the function is the image you want to resize, a the other is wanted size (dimension x and dimenzion y)
img = cv2.imread ('mount.jpeg') img = cv2.resize (img, (1000, 1000))
If we want to see loaded image, we can use cv2.imshow() function.
cv2.imshow ("Mount", img)
We can check image properties.
print ( img.shape ) print( img.size ) print ( img.dtype )
The result would be:
(1000, 1000, 3)
3000000
uint8
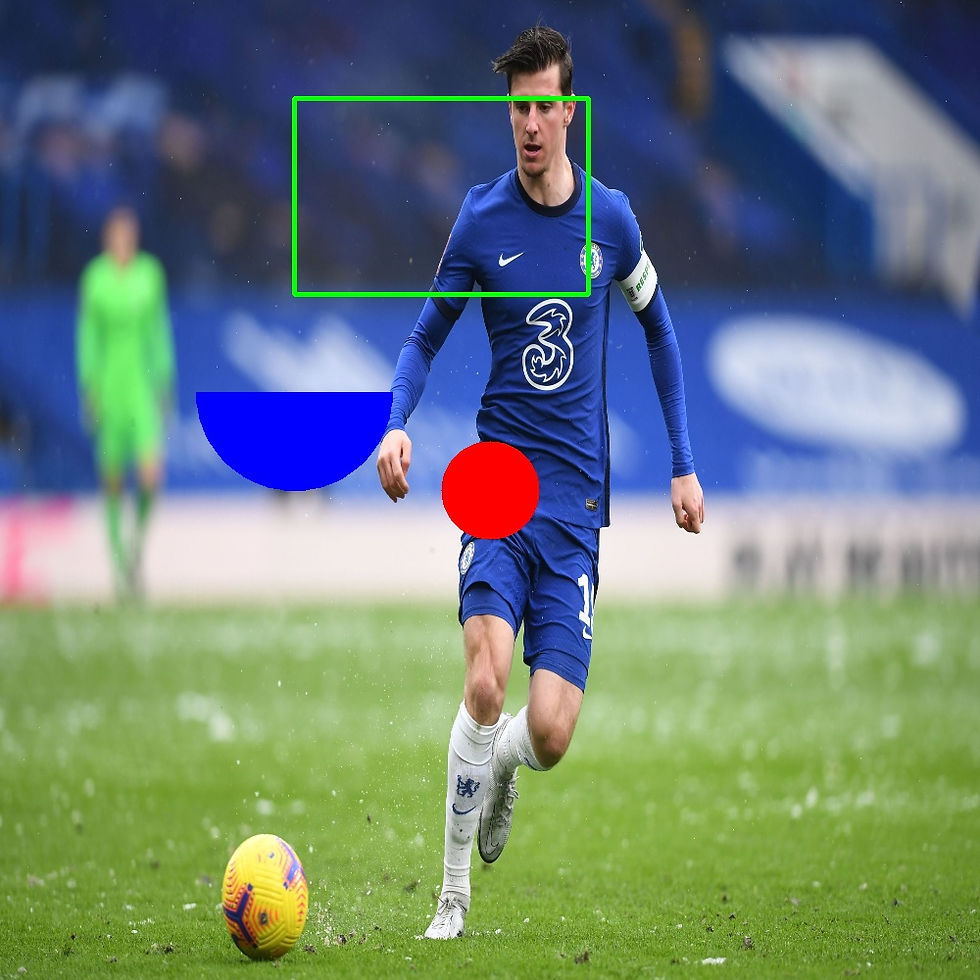
We can draw different shapes on our image. Rectangle can be drawn with cv2.rectangle() function which takes five arguments (image, starting point, ending point, color and thickness of lines). You can set desired color by adjusting blue, green and red values from 0 to 255. Circle can be drawn with cv2.circle() function, which also take 5 arguments (image, center_coordinates, radius, color and thickness) and ellipse with cv2.ellipse(), which takes 8 arguments(image, centerCoordinates, axesLength, angle, startAngle, endAngle, color and thickness).
cv2.rectangle (img, (300,100), (600,300), (0,255,0), 3) cv2.circle (img, (500,500), 50, (0,0,255), -1) cv2.ellipse (img, (300,400), (100,100), 0, 0, 180, 255, -1)
If you want to save new image you can use cv2.imwrite() function.
cv2.imwrite ('new_image.jpg', img)
Function cv2.polylines() can be used when you want to make custom shape on an image. It takes 5 arguments (image, pts, isClosed, color and thickness). Second parameter is used to select points of our desired shape and the third one is where you choose if it is going to be opened or closed (or if ending point is going to be connected to starting point).
pts = np.array ([[30,20],[100,100],[500,400],[800,800]], np.int32) cv2.polylines (img, [pts], True, (255, 0, 0), 6)

We can also put some text on an image. We use cv2.putText() function for that an it takes 8 arguments (image, text, org, font, fontScale, color, thickness, lineType).
cv2.putText (img, 'MASON MOUNT', (10,500), cv2.FONT_HERSHEY_SIMPLEX, 4, (0,255,0), 5, cv2.LINE_AA)

If you ask yourself how to know which coordinates to use, we have solution for that. We will create function called click, where we'll specify that every time we press left mouse button, coordinates will appear on the spot we clicked on. We'll use cv2.EVENT_LBUTTONDOWN() function.
def click (event, x, y, flags, param): if event == cv2.EVENT_LBUTTONDOWN: strXY = str (x) + ',' + str (y) cv2.putText (img, strXY, (x,y), cv2.FONT_HERSHEY_SIMPLEX, .5, (0,255,0), 2) cv2.imshow ('Mount', img)
Then we have to call that function after we load an image. And then we can check some spots to see coordinates.
cv2.setMouseCallback ('Mount', click)

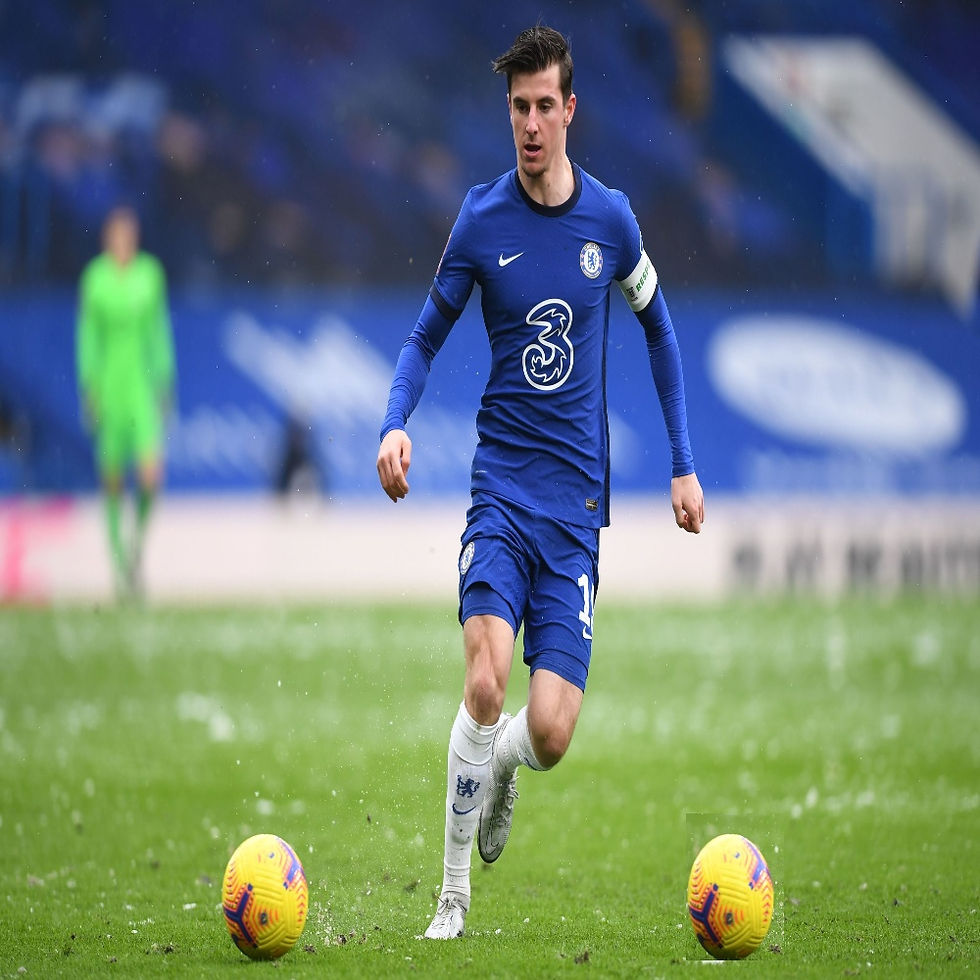
That way we can determine our region of interest (roi), for example ball on our image. Also, we can copy this ball to the second place on the image.
ball = img [830:980, 225:325] img [830:980, 700:800] = ball
We can split the image into individual bands by cv2.split() method. This method returns a tuple of individual image bands from an image.
b,g,r = cv2.split (img) cv2.imshow ("Blue", b) cv2.imshow ("Green", g) cv2.imshow ("Red", r)


To revert this, we can use cv2.merge() function.
img = cv2.merge((b,g,r))
Next, we'll have a look at some bitwise operations (AND, OR, NOT and XOR). Those operations can be highly useful while extracting any part of the image. First we are going to create blank image, like the one below.
img2 = np.zeros ((1000, 1000, 3), np.uint8)
cv2.imshow ("Blank", img2)

Then we'll use bitwise operations to get combined images. First method cv2.bitwise_and() combines corresponding pixels of two image buffers by a bitwise AND operation. A bitwise AND is true if and only if both pixels are greater than zero. It returns an image highlighting the target regions with a binary mask. Second method cv2.bitwise_or() is true if either of the two pixels is greater than zero.It is useful for processing binary-valued images (0 or 1) to detect objects which have moved between frames. The third one is cv2.bitwise_xor() can be used for same thing and is true if and only if one of the two pixels is greater than zero, but not both. The last one cv2.bitwise_not() inverts the “on” and “off” pixels in an image. Notice that our first image is going to be black image and the last one is going to be white image.
bitAnd = cv2.bitwise_and (img2, img)
bitOr = cv2.bitwise_or (img2, img)
bitXor = cv2.bitwise_xor (img, img2)
bitNot1 = cv2.bitwise_not (img)
bitNot2 = cv2.bitwise_not (img2)
cv2.imshow ('bitAnd', bitAnd) cv2.imshow ('bitOr', bitOr) cv2.imshow ('bitXor', bitXor) cv2.imshow ('bitNot1', bitNot1) cv2.imshow ('bitNot2', bitNot2)


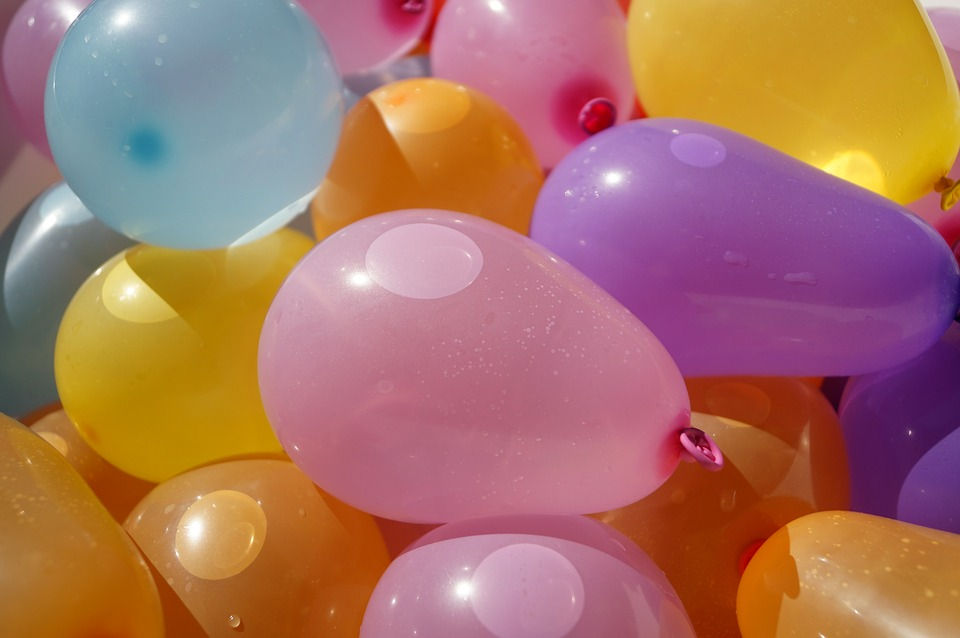
And for the end, we are going to use cv2.add() and cv2.addWeighted() functions. First we are going to load another image.
img3 = cv2.imread("water_balloons.jpg")
img3 = cv2.resize(img, (1000, 1000))
Now, we'll use cv2.add() function to combine those images.
added_img = cv2.add (img, img3);
cv2.imshow ("Added image", added_img)
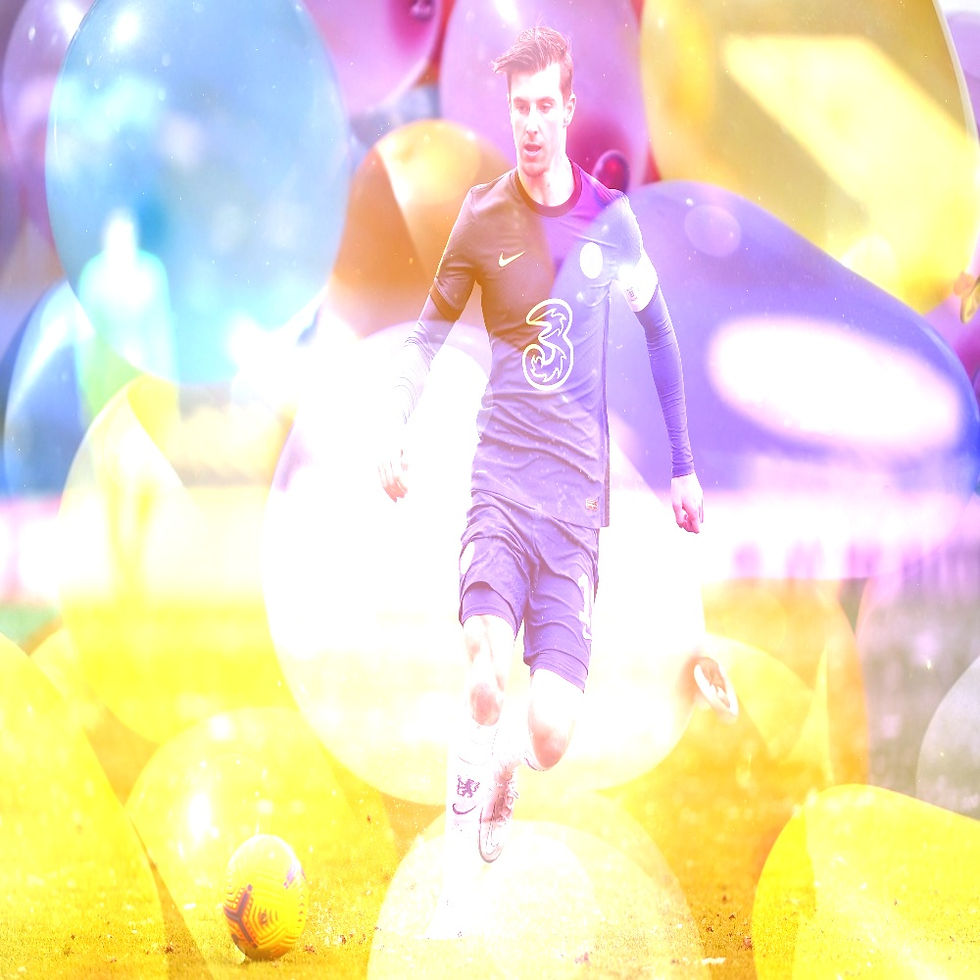
Above method uses both image equally to give combined image. If we want to change ratio in which those images in which they participate in combined image, we'll use cv2.addWeighted() function.
addW_img = cv2.addWeighted (img, .6, img3, .4, 0);
cv2.imshow ("AddWeighted image", addW_img)
You can find all the code here.
Comments